Pi-filter ATU for resonant Yagi and Vertical antennas.
![]() 29-dec-2019.
29-dec-2019.

INTRODCTION
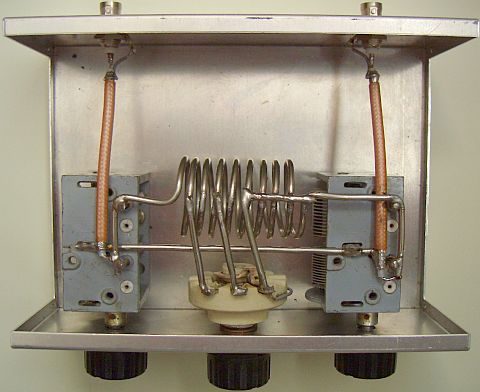
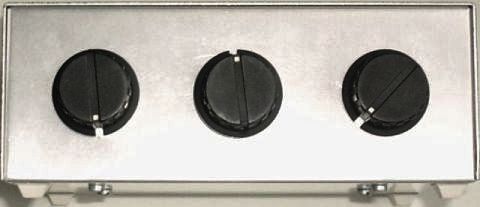
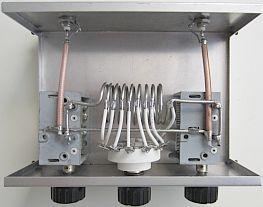
It is simple to make an aerial tuner with ordinary receiver components for resonant 10 - 20 m aerials that are fed with coax. The pictured ATU can handle 1.5 kW with the variable capacitors when the SWR is low. The tuning range is comparable to the build in ATU in modern transceivers. I am always using this ATU to ensure I am having a SWR of 1 with a 2 element FB23 or 5 band Cushcraft R5.
DESIGN

Often two different antenna systems are in use: A longwire for 30 - 80 m and a beam or (phased) vertical for 10 - 20 meters. This means switching the antenna and we might just as well switch the ATU instead.
A separate ATU has the advantage that the ATU can be optimised. The inductor can be designed to have the highest efficiency by making the diameter equal to the length. In a lot of "all-band" ATU’s this is not the case. This ATU may well have a higher efficiency than a build-in ATU’s of a number of transceivers.
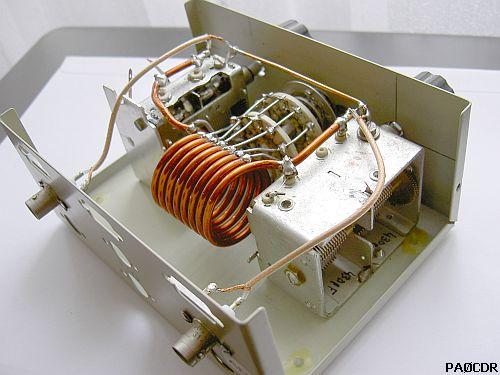
The design is a classic pi filter consisting of an inductor with taps and two variable capacitors. Construction is easy because no insulated shafts or insulated mounting of the capacitor is required.
INDUCTOR
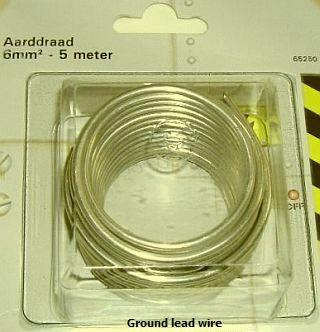
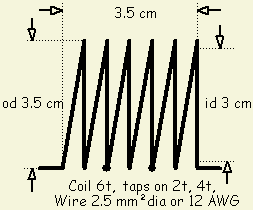
The inductors has been constructed from ordinary unshielded # 10 wire (2.5 mm²) which normally (in NL) is used for grounding purposes in the mains wiring. Six windings with an inside diameter of 1 1/14 " (3cm «fig) are generally sufficient. For me 5 windings were sufficient and the rest of the inductor was shorted.
(It was the intention to replace the tapped inductor with a fixed one of 5 or 6 windings but time was spend with constructing something else.) Taps for the switch can be made every two windings. It may be that another tap position works out better in another station but the given set-up is a good start. Thinner wire can also be used initially before making the final inductor of #10 gauge. The length of the inductor is approx. 1 ½" (3.5 cm) if the spacing is equal to the wire size.
SWITCH
|
A 3-position switch. |
An 8-position switch. |
With the 6 or 8-position switch it is possible to make a tap on each winding. In reality this was not required and that’s why a three-position switch was used. Large contacts have a minimum RF resistance, which is important at the higher HF frequency.
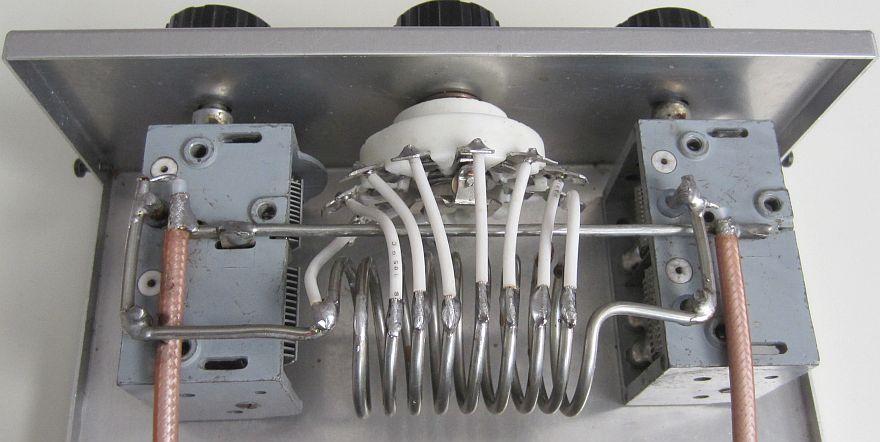
During a "nothing to do" moment the saved 8 position switch was installed anyway.
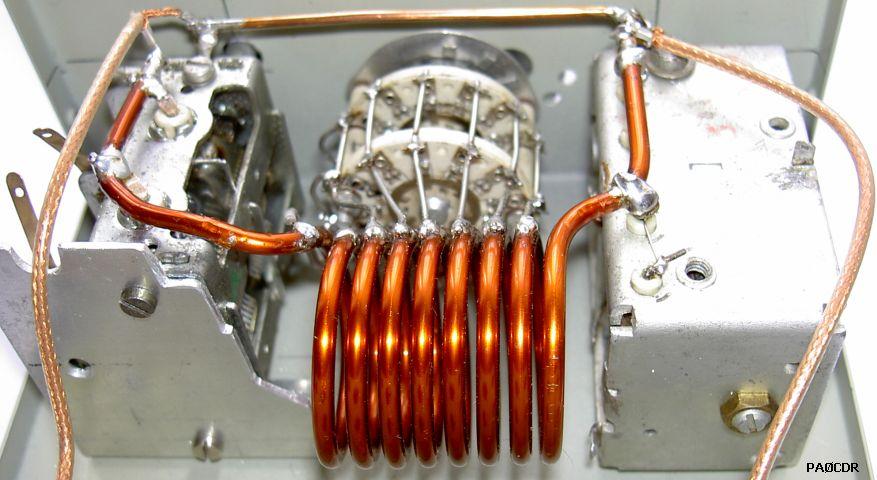
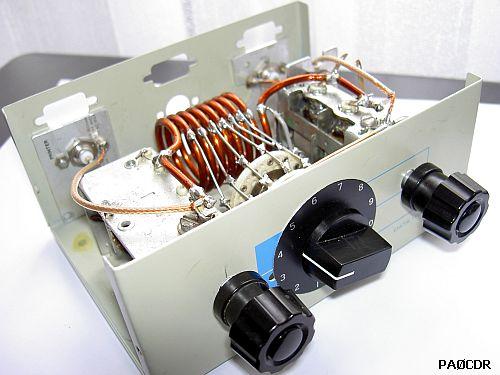
PAØCDR found that with its tuner shown below, a combination could be found in a wide frequency range with a very decent SWR, even at 30 m. It turned out that the desired bands were beautifully distributed over the six-position switch. Especially tuning at 12 and 10 meters worked well with settings slightly below the middle of the varco. This was exactly the goal he was aiming for.
With the help of a GD-1B griddipper and counter, we first looked at where the different combinations of switch positions were 'in the band' and examined the properties of the tuner according to this method with scoop and generator: https://www.youtube.com/watch?v=eYN7dhdt1Dw. The range of his tuner is 10 MHz - 40 MHz.
VARIABLE CAPACITORS
|
Even this type is suited for 100 W. |

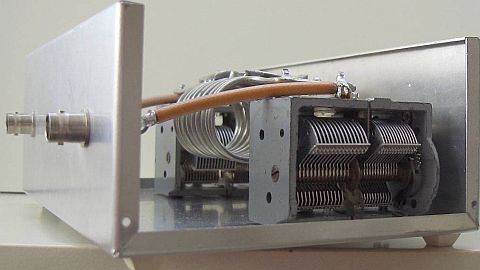
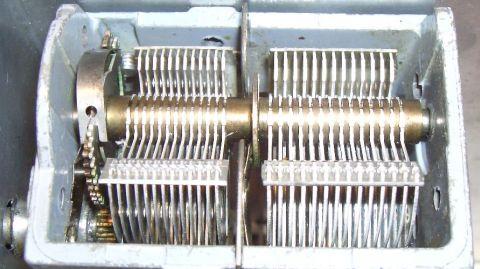
 Two section broadband capacitors (fig») with a build-in reduction were used. These can still be found new and on hamfests. Do not pass them up because you think the gap between the plates is not sufficient. The gap in my capacitors is rather small and the capacitance value is 380 pF per section.
It surprises me that I have not any arcing by rather large transmission power even though the sections have unequal spacing. If you locate capacitors that have a larger gap then that is even better!
If you only use medium power (100 W) then you can use capacitors with very close spacing. Shown (fig») is an AAA battery for size comparison.
CONSTRUCTION
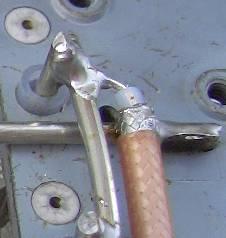
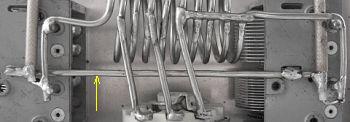
Connect the parts with the same #10 wire and do not use the chassis for the return path. Use the soldering lugs that are normally used for earth and keep the connections short. Take note how the Teflon coax (fig» RG-142 or similar) is connected to the capacitors. This helps to minimise stray inductance of the wiring, which starts to have an impact when using the ATU on 10 meters.
OPERATION
Some practice operating the ATU is required. Not always is a match immediately obvious and another tap or position of the other capacitor is required. Many aerials have been tested and always has it been possible to create a match.

If you have two settings that have a SWR = 1 match then use the setting that uses the highest capacitance.
A low-pass filter (LPF fig») is always in use and the ATU ensures that the filter is correctly terminated with 50 Ohms, which is required for the correct functioning of the filter. The filter causes the tuning of the ATU to be sharper and aids in tuning the ATU to a 1 ÷ 1 SWR.